How to Set Up Your Tabletop or Wall-Mounted Bubble Wall
In this “how to” guide, we will explain how quick and easy it is to set up your new bubble wall! We will be covering our tabletop model, the 200FS. As well as our two wall-mounted models, the 300WM and 500WM. If you’re looking for installation assistance on some of our other models, additional resources can be found at the bottom of this article.
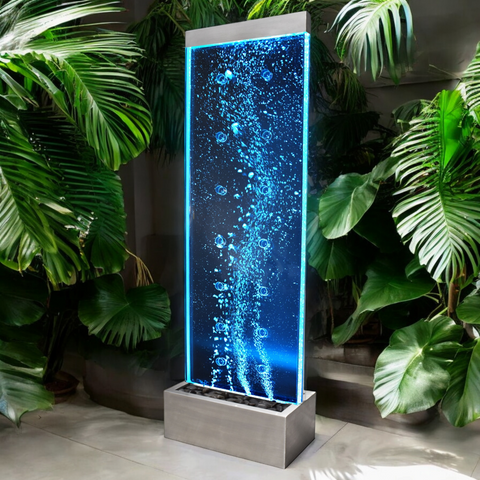
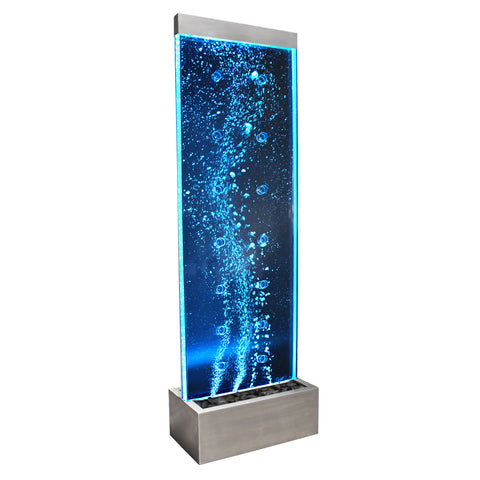
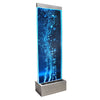
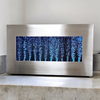
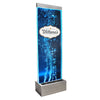
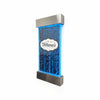
200FS
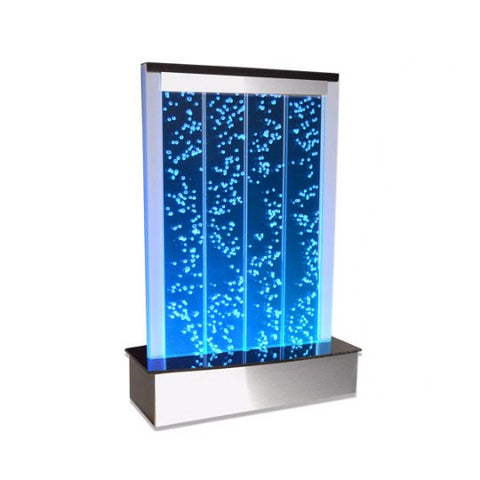
Tools & Supplies Required – There are no tools required for the setup of this bubble wall, but you will need one gallon of distilled water. It’s important not to use tap water, as it contains chemicals that can stain your bubble panel and damage the bubble tank. Distilled water can be purchased at all grocery stores and pharmacies. To be safe, we recommend purchasing an additional gallon for top offs.
What’s Included – A bubble panel tank with LED lighting controller, base stand, cover, LED lighting power supply plug, air pump, and tubing.
Safety – Do not make any wiring connections, including extension cords, inside the base unit of your bubble wall. All bubble walls should be plugged into Ground Found Circuit Interrupter (GFCI) outlets for added safety. When installing your bubble wall, be sure to always use caution, along with hand and eye protection!
Bubble Tank Assembly
- Remove the bubble tank and base stand from box. Also, be sure to remove the packaging, and check thoroughly for any damage. It is normal for condensation to be present, as each bubble panel is tested with water prior to shipment.
- When installing the bubble tank into the stand, it is very important that you keep the white, LED controller box on the front of the bubble tank, on the same side as the cut-out in the bottom of the base stand.
- Slide the bubble tank panel down into the base stand until it is fully seated. Pay close attention to where the lighting strip wire and air tube are located, so that you do not pinch or kink their connections in the base stand.
Connecting Air Line & LED Lights
- Route the blue air line tubing and LED lighting power supply cord into the base stand from the cut-out beneath the unit. You will find a small notch in the bottom of the base stand for these connections to exit on the left side.
- Attach air line tubing to the blue valve coming from the tank, and the LED power supply plug to the white LED controller box.
- Plug in the air pump and LED power supply.
- Before filling your unit with water, the air pump should be on and delivering air to the tank.
Filling With Water
- Remove the cover from the top of the tank.
- Fill ¼ of the bubble tank with distilled water and check for leaks. If leaks are present, unplug the power cord immediately and drain the tank. While doing this, be careful not to spill water down the sides of your bubble tank.
- Fill the tank to approximately one inch from the top, and replace the top cover.
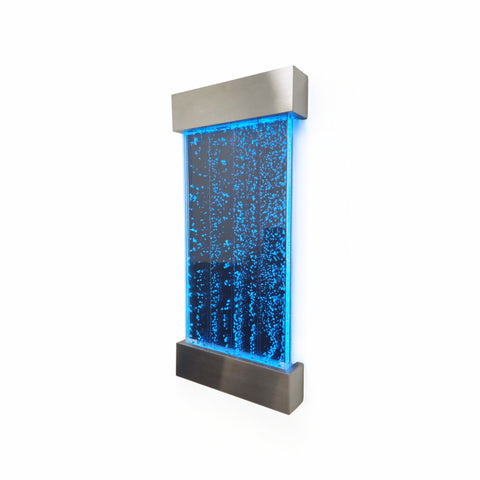
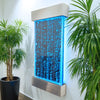
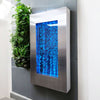
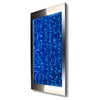
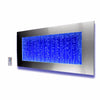
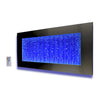
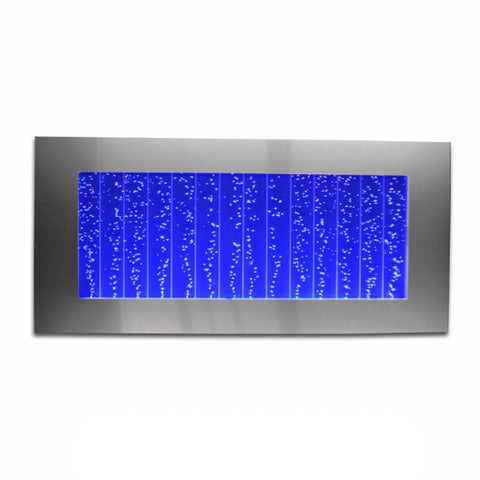
300WM

Tools & Supplies Required – Power drill, fasteners, level, one gallon of distilled water. It’s important not to use tap water, as it contains chemicals that can stain your bubble panel and damage the bubble tank. Distilled water can be purchased at all grocery stores and pharmacies. To be safe, we recommend purchasing an additional gallon for top offs.
Safety – Do not make any wiring connections, including extension cords, inside the base unit of your bubble wall. All bubble walls should be plugged into Ground Found Circuit Interrupter (GFCI) outlets for added safety. When installing your bubble wall, be sure to always use caution, along with hand and eye protection!
Wall Mounting
- This unit is intended to be mounted to a standard 16 inch-on-center wood stud construction wall surface commonly found in residential buildings. If you are unfamiliar with this format, or for installations other than describe, consult a qualified professional.
- Because of the broad range of possible installations, we do not provide fasteners. The unit must be installed with suitable, large-headed fasteners, such as screws or nails, to perform properly. If you’re unsure which fasteners to use, we recommend consulting with a sales representative at your local building supply store on screw types and lengths for the installation you plan to perform.
- You will find hanging key holes located on the back of the unit. Your fasteners should be aligned level, and spaced at exactly 16” apart. Then, hang the unit in place by sliding it down onto the key holes.
- This unit is designed to mount to wall studs centered at 16”, and cannot be installed into drywall alone.
- Additional fasteners should be installed in the lower wall bracket at provided 16” center holes to keep the unit locked down against the wall.
Filling With Water
- Power to the air pump should be turned on before filling the bubble tank with water.
- Once the battery disconnect tab has been removed from the bottom of your remote control, plug in the LED lighting power supply and check for operation.
- There is a small opening for a funnel to be inserted on top of your bubble wall. Using your provided funnel, fill ¼ of the bubble tank with distilled water and check for leaks. If leaks are present, unplug the power cord immediately and drain the tank. While doing this, be careful not to spill water down the sides of your bubble tank.
- Fill the tank to approximately one inch from the top.
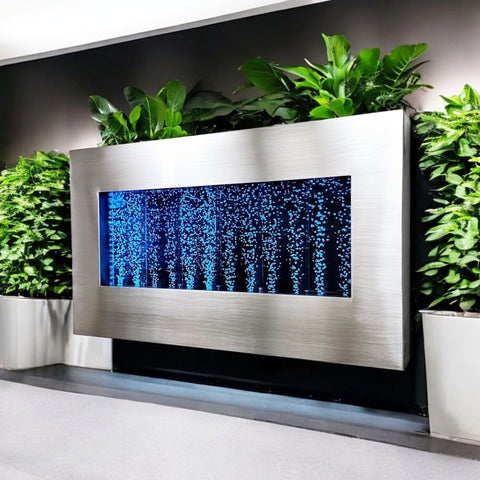
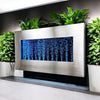
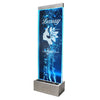
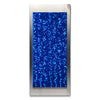
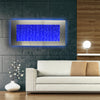
500WM
Tools & Supplies Required – Flat and Phillips tip screw driver, tape measure, power drill, fasteners, level, two gallons of distilled water. It’s important not to use tap water, as it contains chemicals that can stain your bubble panel and damage the bubble tank. Distilled water can be purchased at all grocery stores and pharmacies. To be safe, we recommend purchasing an additional gallon for top offs.
Safety - Do not make any wiring connections, including extension cords, inside the base unit of your bubble wall. All bubble walls should be plugged into Ground Found Circuit Interrupter (GFCI) outlets for added safety. When installing your bubble wall, be sure to always use caution, along with hand and eye protection!
Unpacking
- Carefully open the crate from the shipping label side. Use caution, as shipping crates contain wood and metal materials.
- Remove the six (6) Phillips head screws that are securing the unit in the grade, and remove the complete foundation. Also, be sure to remove the packaging, and check thoroughly for any damage. It is normal for condensation to be present, as each bubble panel is tested with water prior to shipment.
- A pair of latex gloves is included to protect your unit from smudges and finger prints during assembly, which can be difficult to remove from bare metal surfaces.
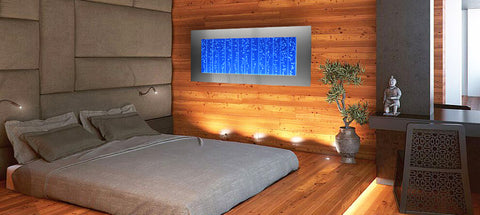
Planning Your Installation
- Choose a mounting location that is completely flat, has wood studs in suitable locations inside the wall, and is high enough on your wall to keep it out of reach from children and pets.
- If you’re planning to conceal the power wire and air tubing inside your wall, be sure to route the connections beforehand.
- Verify that a power outlet is within a reasonable distance from where you plan to mount your bubble wall.
- Do not make any wiring connections, including extension cords, inside the base unit of your bubble wall. A suitable extension cord may be used to extend wiring when used in accordance with your local building and fire safety codes.
- Your air pump must be placed on a clean, flat, and level surface near the power outlet, and cannot be placed in any enclosure which may restrict air flow to the unit.
Wall Mounting
- This unit is intended to be mounted to a standard 16 inch-on-center wood stud construction wall surface commonly found in residential buildings. If you are unfamiliar with this format, or for installations other than describe, consult a qualified professional.
- This unit is to be mounted with two fasteners spaced exactly 32 inches apart. The fasteners must be installed into your wall’s wood studs, which are located every 16 inches along your wall.
- Using a level and tape measure, make two marks exactly 32 inches apart at the stud locations of your wall.
- Install suitable screws for your planned installation. Because of the broad range of possible installations, we do not provide fasteners. The unit must be installed with suitable, large-headed fasteners, such as screws or nails, to perform properly. If you’re unsure which fasteners to use, we recommend consulting with a sales representative at your local building supply store on screw types and lengths for the installation you plan to perform.
- Another option, for tamper resistant applications, this unit is equipped to allow additional mounting points at the lower mounting key wholes, which are exactly 14 inches below the first set of fasteners.
- Once all fasteners are installed and protruding approximated 3/8 inch from the wall surface, hang the bubble fountain by sliding it down onto the faster heads through the key holes at the rear of the unit.
- Route LED lighting power cord and blue air tubing to the planned location and connect to power.
Filling With Water
- Power to the air pump should be turned on before filling the bubble tank with water.
- You will find a fill tube located on the top of the bubble tank. Using your provided funnel, fill ¼ of the bubble tank with distilled water and check for leaks. If leaks are present, unplug the power cord immediately and drain the tank. While doing this, be careful not to spill water down the sides of your bubble tank.
- Fill the tank to approximately one inch from the top.
ADDITIONAL RESOURCES
- 10 Tips For Installing A DIY Bubble Wall Fountain Into An Existing Wall
- How To Use LED Remote Control
- 10 Bubble Wall Cleaning And Maintenance Tips
Now, you should be ready to enjoy the relaxing and mesmerizing effects of your new bubble wall! If you have additional questions concerning installation, do not hesitate to reach out to us. We would be more than happy to help! What other types of “how to” guides would you like to see on our site?!