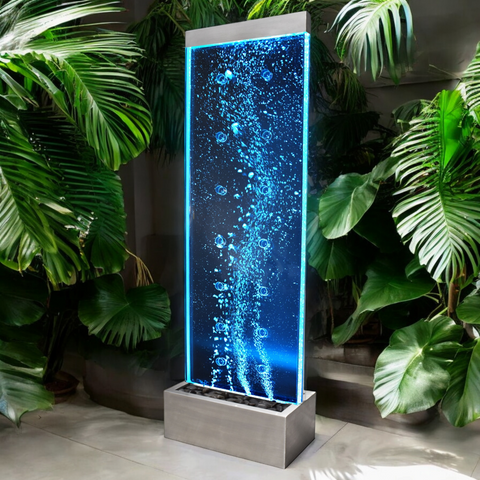
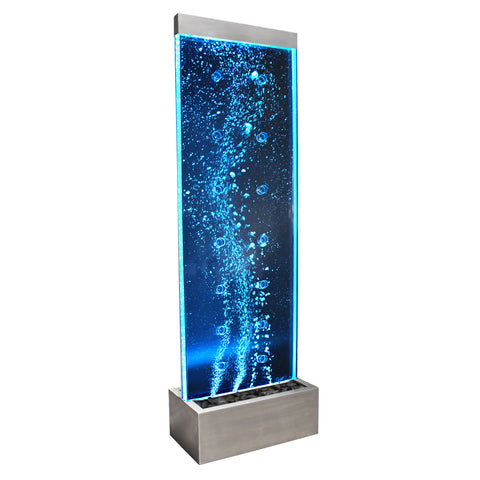
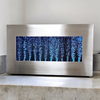
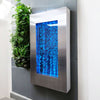
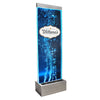
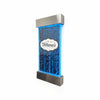
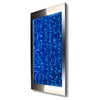
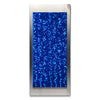
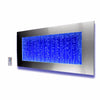
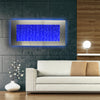
Our DIY units, the 400SP and 450SP, can be a great option if you’re looking to customize your bubble wall and install it into an existing wall in your home or business. We’d like to help make your installation as simple as possible, so we’ve put together a few tips.
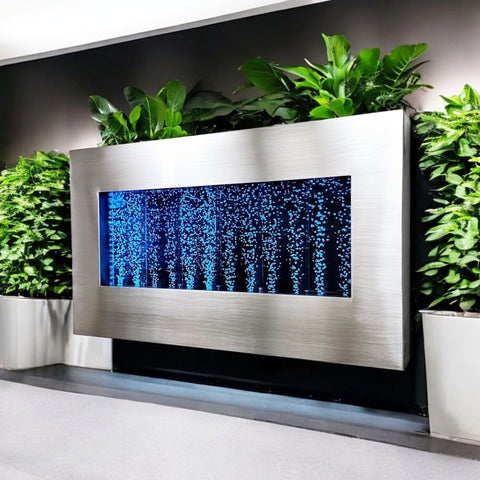
- We recommend building a double-sided frame around the panel to encase it in wall-mounted installations.
- Make the frame components easy to remove using screws or similar fasteners.
- The bubble panel should be properly supported from the bottom of the unit, and all of the weight should rest on the bottom edge.
- There should also be vertical support on both sides of the panel to keep the unit in a completely upright position.
- An adhesive foam strip should be used to cushion the unit on harder surfaces.
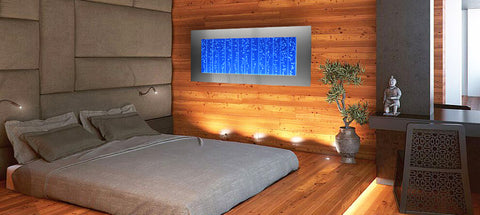
- Make sure the unit is mounted in a completely level position, so that you can avoid water spillage and achieve proper bubble output.
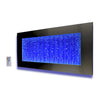
- The top of the unit must be accessible, so that you can refill it with water. This also makes removal and re-installation of the entire panel easier when it comes time to drain or clean your bubble fountain.
- Do not drill or screw into the bubble wall panel.
- Do not use glues and/or solvents to mount the unit.
- Components such as the air pump and LED power supply should not be mounted under the unit, but rather to either side of the panel in a remote location with access to power.
We hope this answers any questions you may have had about installing your DIY bubble wall fountain! We would love to see photos once your installation is complete, so feel free to share them with us on Facebook or Twitter. We may even share them on our page, as well (with your permission, of course)!


Comments